
Overlays (either structural or non-structural) make up a large portion of the roadway paving done today. The degree of surface preparation for an overlay is dependent on the condition and type of the existing pavement. Generally, the existing pavement should be structurally sound, level, clean and capable of bonding to the overlay. To meet these prerequisites, the existing pavement is usually repaired, leveled (by milling, preleveling or both), cleaned and then coated with a binding agent. This subsection covers:
- Repair
- Tack coats
- Leveling (both by applying a leveling coarse and by milling)
- HMA overlays on PCC pavement
- PCC overlays on HMA pavement
Repair
Generally, pavement overlays are used to restore surface course (both HMA and PCC) characteristics (such as smoothness, friction and aesthetics) or add structural support to an existing pavement. However, even a structural overlay needs to be placed on a structurally sound base. If an existing pavement is cracked or provides inadequate structural support these defects will often reflect through even the best-constructed overlay and cause premature pavement failure in the form of cracks and deformations. To maximize an overlays useful life, failed sections of the existing pavements should be patched or replaced and existing pavement cracks should be filled.
At most, overlays are designed to add only some structural support; the remaining structural support must reside in the existing pavement. Therefore, small areas of localized structural failure in the existing pavement should be repaired or replaced to provide this structural support (Figure 1). Often, existing pavement failure may be caused by inadequate subgrade support or poor subgrade drainage. In these cases, the existing pavement over the failed area should be removed and the subgrade should be prepared as it would be for a new pavement.

Existing pavement crack repair methods depend upon the type and severity of cracks. Badly cracked pavement sections, especially those with pattern cracking (e.g., fatigue cracking) or severe slab cracks, must be patched or replaced because these distresses are often symptoms of more extensive pavement or subgrade structural failure (TRB, 2000[1]). Existing cracks other than those symptomatic of structural failure should be cleaned out (blown out with pressurized air and/or swept) and filled with a crack-sealing material when the cracks are clean and dry (TRB, 2000[1]). Cracks less than about 10 mm (0.375 inches) in width may be too narrow for crack-sealing material to enter. These narrow cracks can be widened with a mechanical router before sealing. If the existing pavement has an excessive amount of fine cracks but is still structurally adequate, it may be more economical to apply a general bituminous surface treatment (BST) or slurry seal instead of filling each individual crack.
In all, pavement repair should be extensive enough to provide an existing pavement with adequate structural support. Pavement management techniques should provide for overlays before an existing pavement has lost most or all of its structural support capability.
Tack Coats
Before overlaying, a tack coat should be placed on an existing pavement to ensure adequate bonding of the overlay to the existing pavement surface. Proper tack coat application can be critical to long-term pavement performance.
Leveling
The existing pavement should be made as smooth as possible before being overlaid. It is difficult to make up elevation differences or smooth out ruts by varying overlay thickness. For flexible overlays, HMA tends to differentially compact; a rule of thumb is that conventional mixes will compact approximately 6 mm per 25 mm (0.25 inches per 1 inch) of uncompacted thickness (TRB, 2000[1]). Therefore, before applying the final surface course the existing pavement is typically leveled by one or both of the following methods:
- Applying a leveling course (HMA pavements). The first lift applied to the existing pavement is used to fill in ruts and make up elevation differences. The top of this lift, which is relatively smooth, is used as the base for the wearing course.
- Milling (HMA pavements). A top layer is milled off the existing pavement to provide a relatively smooth surface on which to pave. Milling is also commonly used to remove a distressed surface layer from an existing pavement.
- Diamond Grinding (PCC pavements). A thin top layer can be milled off of an existing pavement to smooth out relatively small surface distortions prior to flexible or rigid overlay.
Leveling Course – HMA Pavements
Leveling courses (or prelevel) are initial lifts placed directly on to the existing pavement to fill low spots in the pavement (Figure 2). Typically, pavers use an automatic screed control, which keeps the screed tow point constant regardless of the tractor unit vertical position. This allows the paver to drive over a rough, uneven pavement yet place a relatively smooth lift with extra HMA making up for low spots in the existing pavement.

Leveling course lifts need to be as thick as the deepest low spot but not so thick that they are difficult to compact. Because it is not the final wearing course, leveling course elevation and grade are sometimes not tightly specified or controlled. However, contractors and inspectors alike should pay close attention to leveling course thickness because an excessively thick leveling course can lead to large overruns in HMA and thus large overruns in project budget.
Although leveling courses can help produce a smoother pavement, they suffer from discussed differential compaction and therefore may not entirely solve the smoothness problem.
Milling – HMA Pavements
Milling (also called grinding or cold planing) can be used to smooth an existing HMA pavement prior to HMA or PCC overlays. Rather than filling in low spots, as a leveling course does, milling removes the high points in an existing pavement to produce a relatively smooth surface. For HMA pavements, milling can help eliminate differential compaction problems.
Milling machines are the primary method for removing old HMA pavement surface material prior to overlay (Roberts et al., 1996[2]). They can be fitted with automatic grade control to restore both longitudinal and transverse grade and can remove most existing pavement distortions such as rutting, bumps, deteriorated surface material or stripping. The primary advantages of milling are (Roberts et al., 1996[2]):
- Eliminates the need for complicated leveling courses and problems with quantity estimates for irregular leveling course thicknesses used to fill existing pavement depressions.
- Provides RAP for recycling operations.
- Allows efficient removal of deteriorated flexible pavement material that is unsuitable for retention in the pavement structure.
- Provides a highly skid resistant surface suitable for temporary use by traffic until the final surface can be placed.
- Allows curb and gutter lines to be maintained or re established before flexible overlays.
- Provides an efficient removal technique for material near overhead structures in order to maintain clearances for bridge structures, traffic signals and overhead utilities.
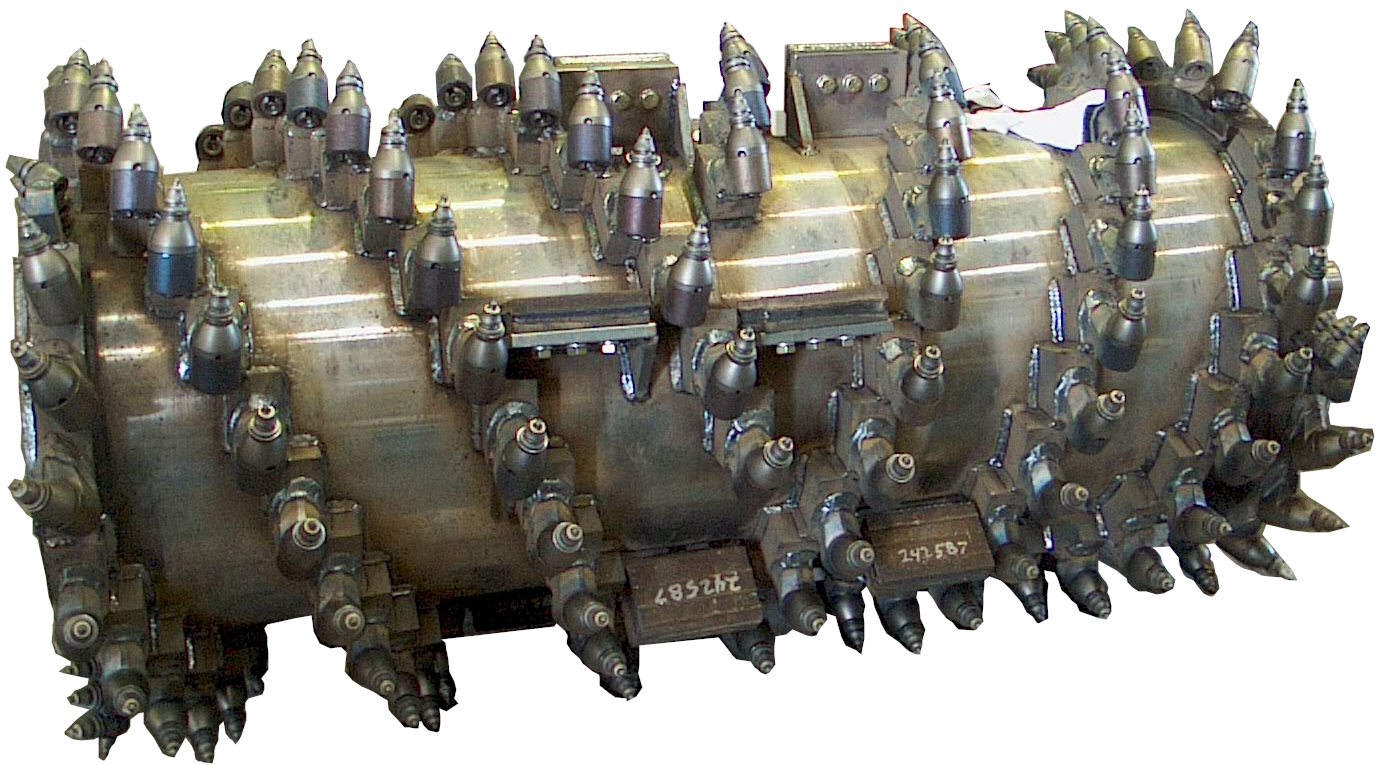
The basic components of a milling machine are a cutting drum to mill the existing pavement, a vacuum to collect the milled particles and a conveyance system to transport the milled particles to a dump truck for hauling (Figure 3, 4 and 5). Table 1 shows ranges for some key milling machine parameters, Figures 6 and 7 show two milling machine examples, Figures 8 and 9 show milled pavements and Video 1 shows the basic milling process.
Table 1: Milling Machine Parameter Ranges (from ARRA, 2001[3])
| Specification | Typical Range | Comments |
|---|---|---|
| Cut Width | 75 mm (3 inches) to 4.5 m (14 feet) | Drums come in specific widths. Varying widths can be made with multiple passes. |
| Cut Depth | up to 250 mm(10 inches) per pass | It is easier to make several shallow passes than one deep pass. |
| Production Rate | 100 to 200 tons/hr for large machines | Depends on machine and pavement conditions. |
| Material Size after Milling | 95% passing the 50 mm (2-inch) sieve | Typical size. |
|
|
|
|
|
|
|
|
|


After a pavement has been milled the resulting surface is quite dirty and dusty. The surface should be cleaned off by sweeping or washing before any overlay is placed otherwise the dirt and dust will decrease the bond between the new overlay and the existing pavement (Figure 10 and 11). When sweeping, more than one pass is typically needed to remove all the dirt and dust. If the milled surface is washed, the pavement must be allowed to dry prior to paving.
|
|
|


Milling also produces a rough, grooved surface, which will increase the existing pavement surface area when compared to an ungrooved surface. The surface area increase is dependent on the type, number, condition and spacing of cutting drum teeth but is typically in the range of 20 to 30 percent, which requires a corresponding increase in tack coat (20 to 30 percent more) when compared to an unmilled surface (TRB, 2000[1]).
Leveling Course vs. Milling
For many situations, milling may be a superior alternative to a leveling course. Leveling course quantities are difficult to accurately estimate and leveling course thicknesses are usually small, precluding the use of nuclear gauge density testing. Thus, adequate mix density is difficult to achieve and measure. In some overlay projects a combination of milling and leveling course application may be best.
Diamond Grinding – PCC Pavements
Although typically used for rigid pavement surface restoration, diamond grinding can be used to eliminate relatively small surface distortions in existing rigid pavement prior to flexible or rigid overlays. Because it roughens the existing rigid pavement surface, diamond grinding also improves the bond between the existing pavement and the overlay. Non-overlay applications of diamond grinding are covered in Diamond Grinding.
HMA Overlays on PCC Pavement
Placing a HMA overlay on a jointed or cracked PCC pavement involves some special considerations in addition to the usual repair and leveling. Jointed plain concrete pavement (JPCP) is placed in discrete slabs and both JPCP and continuously reinforced concrete pavement (CRCP) tend to crack into discrete sections.These slabs/sections tend to move as individual units. Although HMA overlays can accommodate small differential subgrade movement without cracking, the large differential movement at slab and crack interfaces is great enough to crack a HMA overlay (called reflection cracking). There are several techniques to prevent (or at least delay the onset of) reflection cracking:
- Prevent the slabs or sections from moving by stabilizing the material beneath them. This involves drilling holes in an unstable PCC slab or section and injecting an asphaltic or cementitious material to fill any underlying voids. Typically, this method is only an option for isolated instances of instability. It does not work well as a general roadway treatment.
- Make the flexible structure strong enough to resist cracking. This usually involves extra granular base layers between the HMA overlay and the existing PCC pavement or extremely thick HMA layers, both of which are often not cost effective. Even if these types of preventative measures are used, they still cannot be guaranteed to prevent reflective cracking.
- Crack/break and seat the underlying PCC pavement. This involves breaking the underlying PCC pavement into relatively small pieces (on the order of about 0.3 m2 to 0.6 m2 (1 ft2 to 2 ft2) by repeatedly dropping a large weight (Figure 12 and 13). The pieces are then seated by 2 to 3 passes of a large rubber tired roller. The result is a pavement made of small firmly-seated pieces (Figure 14). Video 2 briefly shows the process.
- Rubblize the underlying rigid pavement. This involves reducing the underlying PCC pavement to rubble. This rubble is then used as a high quality base course to support the HMA overlay. Rubblizing is typically done with one of the following two pieces of equipment:
- Resonant pavement breaker (Figure 15 and Video 3). This equipment strikes the rigid pavement at low amplitude with a small plate at the resonant frequency of the slab (usually about 44 Hz) causing the slab to break apart (Figure 16) (Roberts et al., 1996[2]). Usually it takes about 14 to 18 passes for a resonant pavement breaker to rubblize an entire 3.6 m (12 ft.) lane (NCAT, 2001[4]).
- Multi-head breaker (MHB) (Figures 17, 18 and Video 4). This equipment uses a series of independently controlled high amplitude drop hammers to smash the slab. Typically, there are between 12 and 16 hammers, each weighing between 450 – 680 kg (1000 – 1500 lbs.). Hammers can be dropped from variable heights (0.3 – 1.5 m (1 – 5 ft.)) to create impact energies between 2,700 – 16,300 N-m (2,000 – 12,000 ft.-lbs.). Hammers cycle at a rate of 30 – 35 impacts per minute. MHBs can rubblize an entire lane (up to 4 m (13 ft.)) in a single pass (Antigo Construction, 2001[5]).
|
|
|
 |
|
|
|
|
|
|
|


A 38-state survey published in 1999 (Ksaibati, Miley and Armaghani, 1999[6]) revealed the following about rigid pavement rubblizing:
- Distresses in the subsequent flexible overlay such as fatigue cracking and rutting are most often traced to a weak subgrade. This subgrade is also the most likely cause of the original rigid pavement distress. Rubblization is risky when subgrade support conditions are not well known.
- A majority of rubblized particles are in the 25.4 – 76.2 mm (1 – 3 inch) range, although particles near pavement edged or under existing reinforcing steel can be as large as 380 mm (15 inches).
- Rubblizing is generally better than cracking and seating for reducing reflective cracking.
Given the expense of these techniques, some agencies just choose to live with joint reflection cracking rather than prevent it. This is especially true on low volume, low speed roads where ride smoothness and structural integrity may not be given the high priority they are on high volume, high speed roads like interstates.
PCC Overlays on HMA Pavement (from ACPA, 2001b[7])
Unbonded Overlays
Unbonded PCC overlays of both HMA and PCC do not require much surface preparation, which is one of the principal reasons they are used.
Bonded Overlays
Bonded PCC overlays of HMA pavement require several additional considerations. First, the success of a bonded overlay is contingent on a good bond between the rigid overlay and the underlying flexible pavement. In order to develop this bond, the underlying flexible pavement must have a clean, rough surface. Preferably, the flexible pavement should be milled, however, as a minimum, water or abrasive blasting should be used to clean the HMA surface. If water blasting is used, the surface must be allowed to air dry before the PCC is placed.
Once the flexible pavement surface is clean, it must be kept clean until the bonded overlay is placed. Dust, dirt and debris that falls or blows onto the asphalt surface must be removed. If the surface is cleaned on the day prior to paving, air cleaning may be required on the day of paving to remove dirt and dust. If traffic is allowed on the milled surface, the surface must be cleaned again prior to paving.
- Transportation Research Board (TRB). (2000). Hot-Mix Asphalt Paving Handbook 2000. Transportation Research Board, National Research Council. Washington, D.C.↵
- Roberts, F.L., Kandhal, P.S., Brown, E.R., Lee, D.Y., and Kennedy, T.W. (1996). Hot Mix Asphalt Materials, Mixture Design, and Construction. National Asphalt Paving Association Education Foundation. Lanham, MD.↵
- Asphalt Recycling & Reclaiming Association (ARRA). (2001). Web page cold planning FAQ section. ↵
- National Center for Asphalt Technology (NCAT). (2001). Asphalt Paving Level II: Module 4, Surface Preparation. PowerPoint slide show prepared for the Florida Department of Transportation. Construction Training Qualification Program, National Center for Asphalt Technology.↵
- Antigo Construction (2001). MHB Badger Breaker®. Web page on the Antigo Construction Web site. http://www.antigoconstruction.com/specs-mhb.html. Accessed 13 August 2002.↵
- Ksaibati, K.; Miley, W. and Armaghani, J. (1999). Rubblization of Concrete Pavements. Transportation Research Record 1684. Transportation Research Board, National Research Council. Washington, D.C. pp. 165-171.↵
- American Concrete Pavement Association (ACPA). (2001b). Thin Bonded Concrete Overlays of Asphalt Pavement. Web page on the American Concrete Pavement Association’s website. http://www.pavement.com. Accessed 14 February 2002.↵