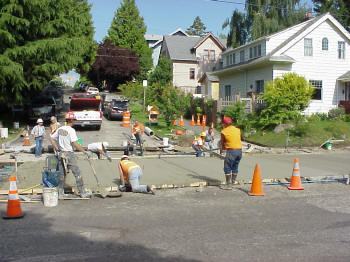
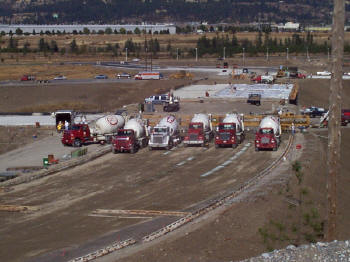
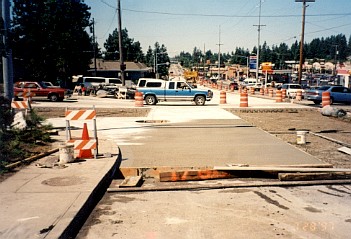
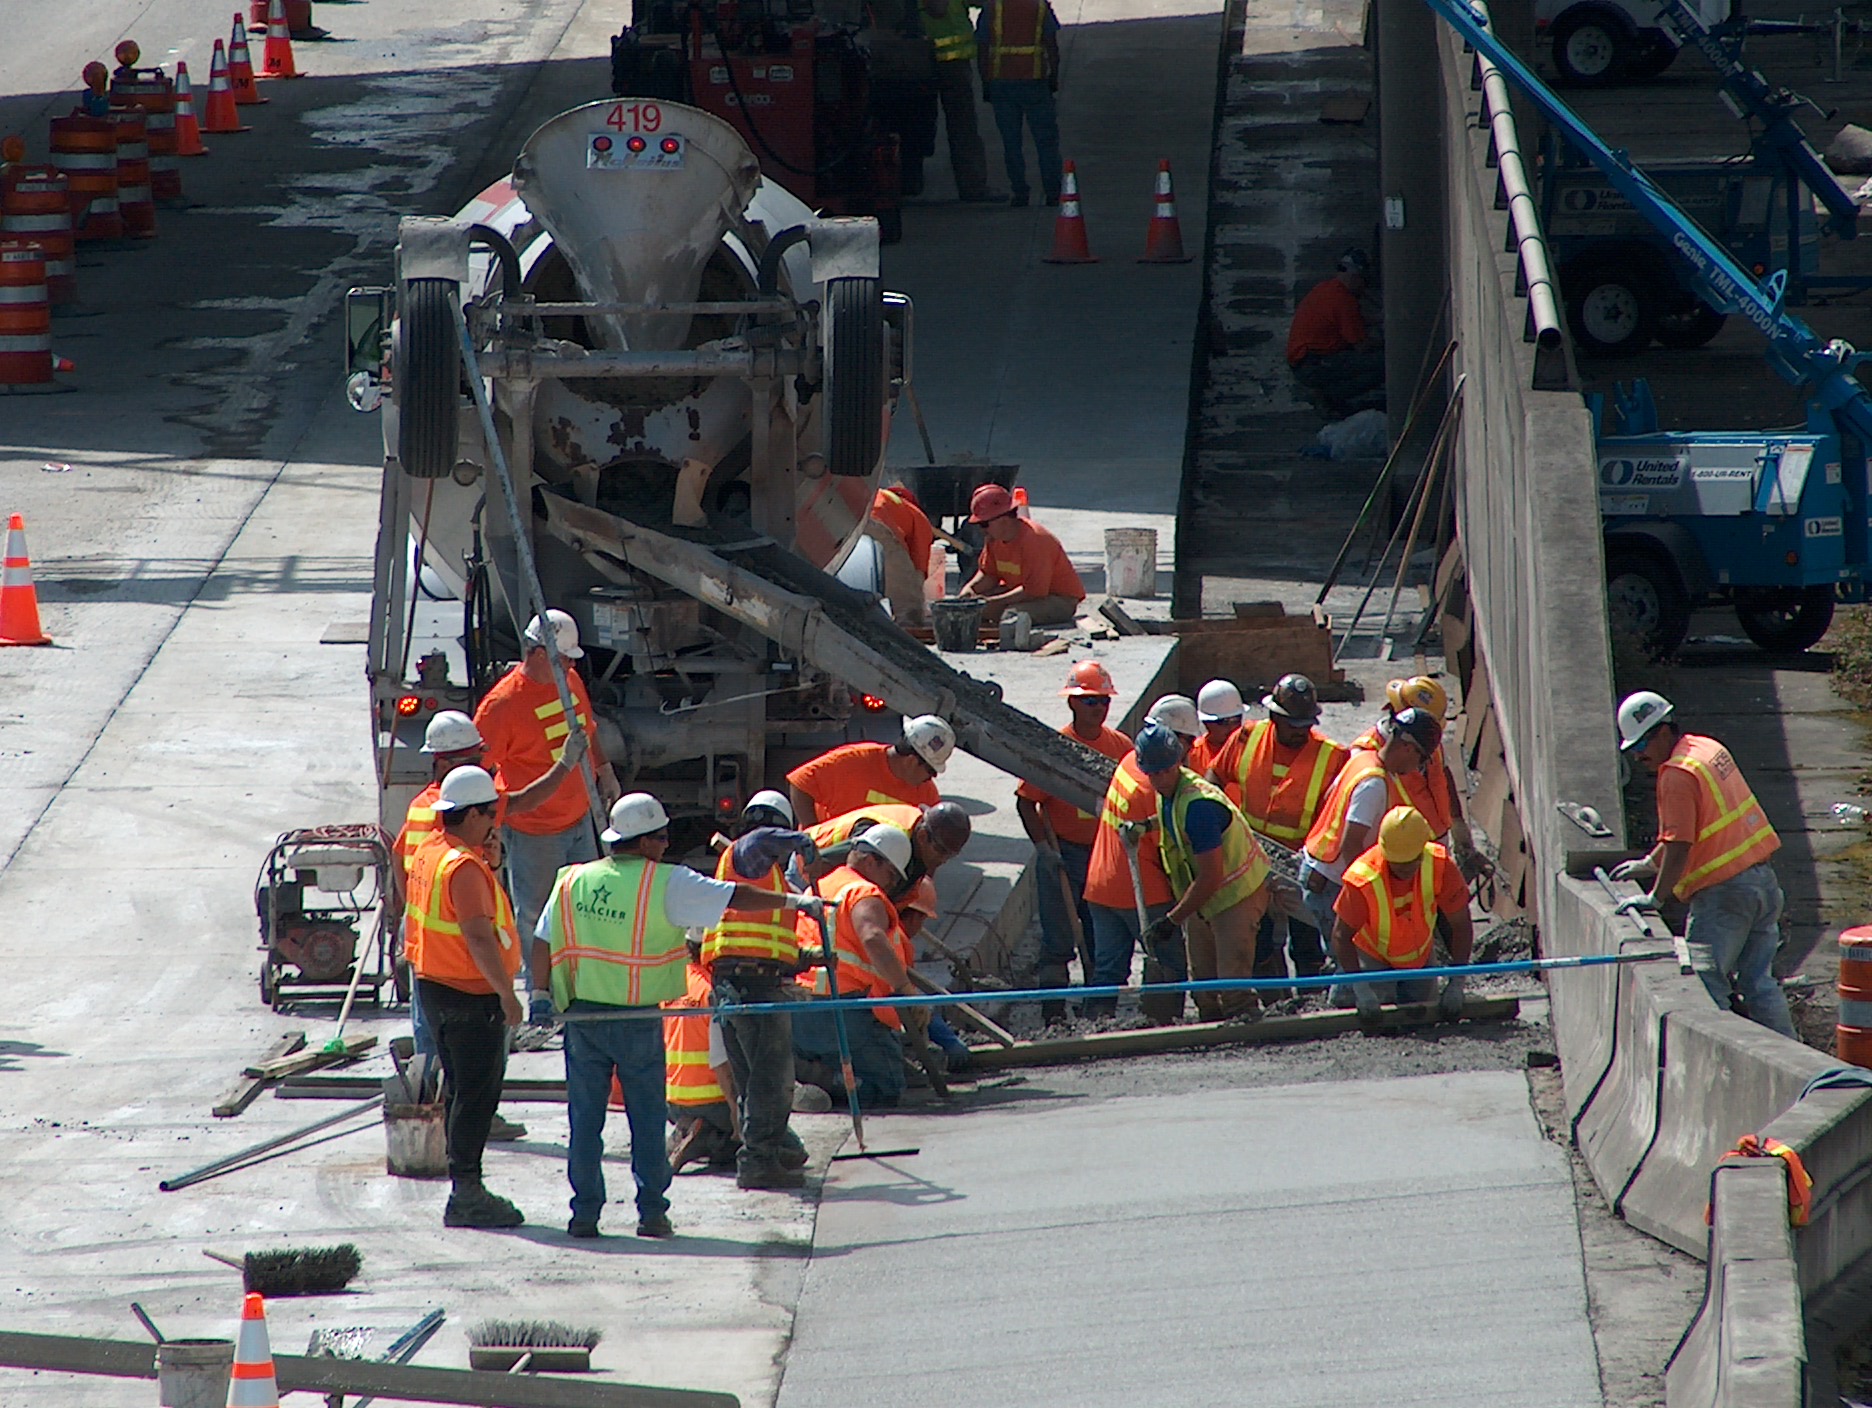
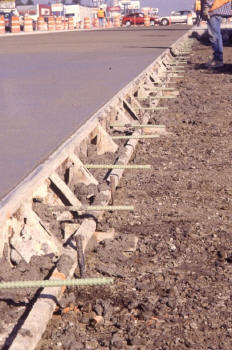
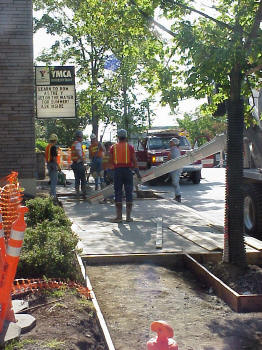
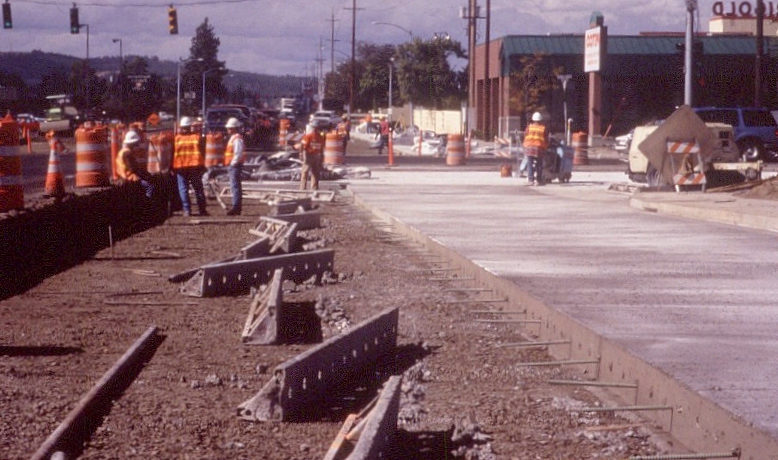
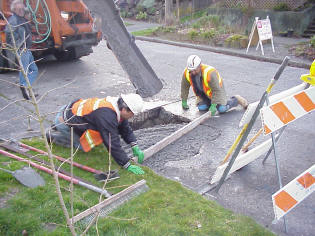
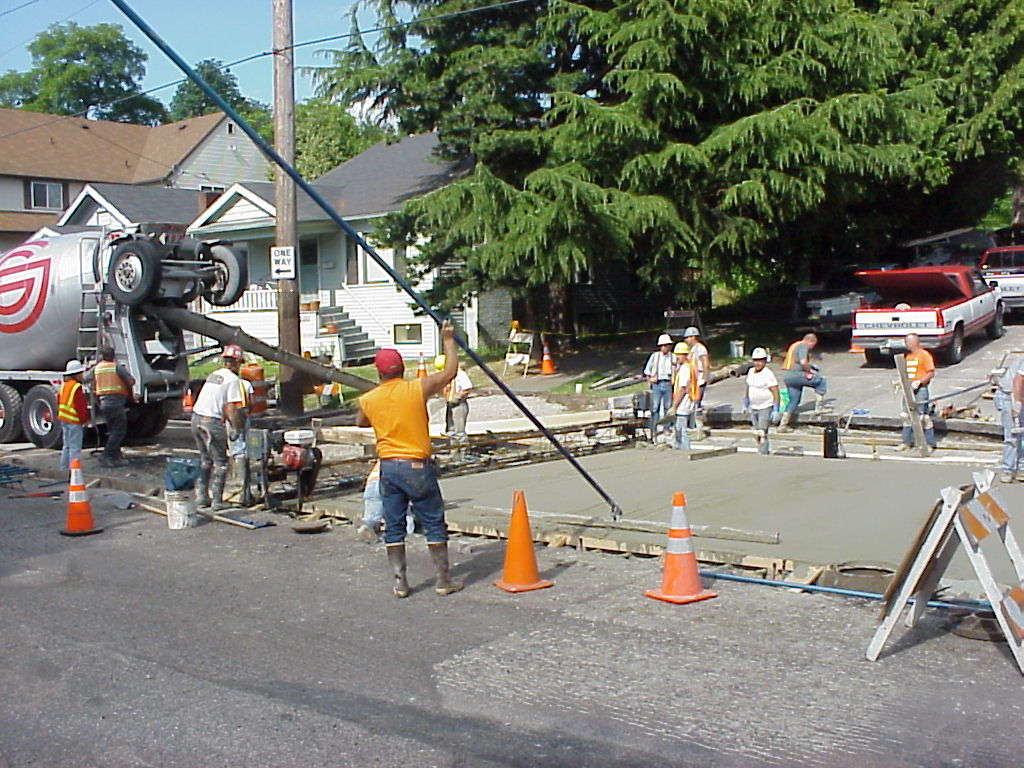
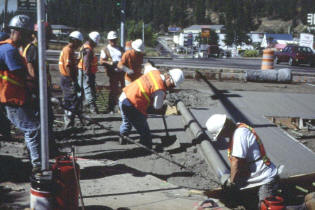
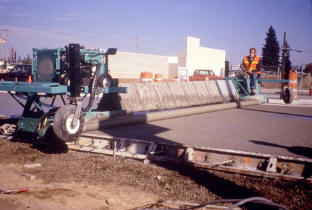
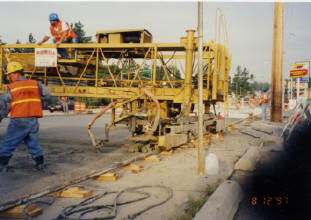
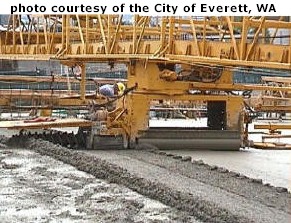
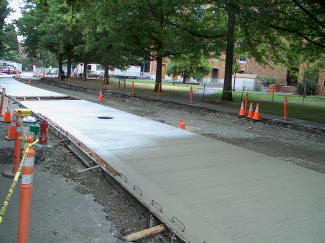
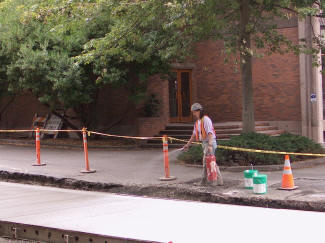
In fixed form paving, side forms are used to hold fresh PCC in place at the proper grade and alignment until it sets and hardens. These forms may also serve as tracks for various pieces of placing and finishing equipment. Fixed form paving is most appropriate for small jobs (see Figure 1), complicated geometry pavements or variable width pavements, however it can be used for large jobs as well (see Figure 2). Particular advantages of fixed form paving are (ACPA, 1995[1]):
- Tight tolerances and side clearances. Existing curbs or other features can be used as forms.
- Custom geometry. Forms can be placed in just about any pavement geometry, which allows for multiple changes in pavement width, smooth curves, blockouts and other abnormalities.
- Better construction staging. Forms can be placed such that staged construction can be used to maintain traffic flow or intersection use (see Figure 3).
- Less expensive equipment and mobilization. Forms and equipment are less expensive than slipform paving equipment. If paving operations are small enough, this cost savings can more than offset the higher production rates of slipform paving.
This section presents PCC forms, placement, consolidation, finishing and curing as they are typically done in fixed form paving. Often more than one of these steps can be performed by the same piece of equipment, such as a vibrating screed, which serves to strike off and consolidate the fresh PCC, or a traveling carriage paver which can perform all three steps.
Forms and Placement
Fixed form paving uses a series of preset molds (or “forms”) to shape a rigid pavement. These forms are placed on the graded base or subgrade in the desired shape of the final rigid pavement. They can be made of anything from welded steel sections to simple lumber. Typically, larger jobs use 3 m (10 ft.) welded steel sections (Figure 5), while small jobs often use stock lumber (Figure 6). The following lists some general guidance when using forms (ACPA, 1995[1]):
- Form depth should be equal to PCC slab thickness. This way PCC slab elevation can be tightly controlled out to and including the edges.
- Forms should have some base width to provide stability. If they do not, they may fall over when subject to the loading imposed by the fresh PCC.
- The top of the form should be straight and true. Specifications vary, but generally anything more than 3 mm (0.12 inches) every 3 m (10 ft.) is considered excessive.
- Form ends should be able to lock together. If not, they may come apart when subject to the loading imposed by the fresh PCC.
- Forms should be attached to the ground (via stake) every 1 – 2 m (3 – 6 ft.). Forms that are not staked may move and forms that are infrequently st’aked may bow out between stakes.
- ‘Forms should be cleaned and oiled before use. Dirty, unlubricated forms will cause surface defects in the slab sides and may stick to the slab during removal.
- Curves less than about 30 m (100 ft.) in radius should be done with flexible forms (e.g., wood) or curved metal forms. Above 30 m (100 ft.) straight 3 m (10 ft.) long metal forms can be laid in a smooth enough curve.
Form placement (or “setting”) should be a careful process that is entirely completed before PCC placement. Forms are quite easy to adjust before PCC is placed and near impossible to adjust afterwards. Form placement is also crucial to rigid pavement quality because finishing equipment generally rides on the forms making final pavement smoothness dependent on form elevation uniformity. Forms can often be removed as soon as 6 to 8 hours after placement (ACPA, 1995[1]).
Screed/Paver
Fixed form screeds vary in complexity from a simple hand screed (sometimes even as simple as a small piece of lumber) to an automatic self-propelled combination screed-finisher. Often, these combination machines are referred to as “pavers” because of their multiple functions. Some typical screed/paver types are listed below:
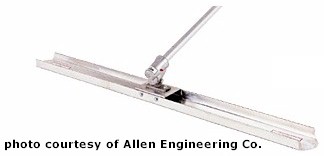
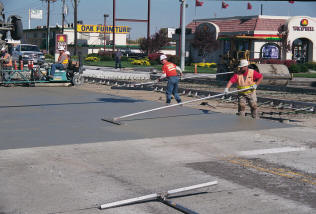
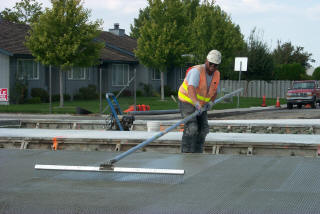
- Manual screed (Figure 8 and 9). Consists of just about anything that is straight and flat enough to strike off PCC at a desired elevation. Figure 9 shows a manual screed consisting of a long-handled metal straightedge.
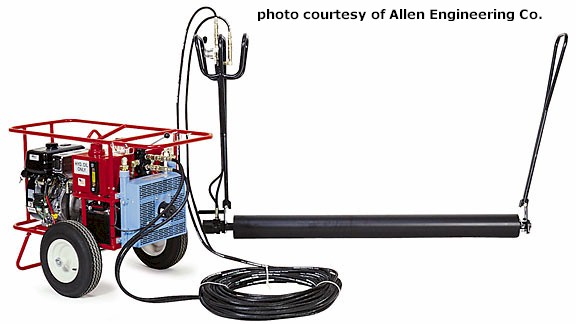
- Roller screed/paver (Figures 10 through 12). Consists of a steel tube that rotates up to 250 rpm in the opposite direction of movement. The tube strikes off PCC and pushes excess PCC forward by the rolling action (see Figure 4). The roller interior can be outfitted with a small vibrating system. Larger roller screeds can be mounted on a single unit that travels on fixed form tracks (Figure 12).
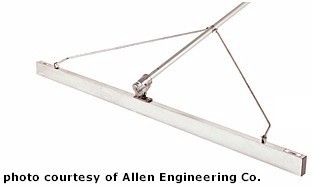
- Truss screed (Figure 13). Consists of an aluminum or steel blade mounted to a truss frame. Typical truss screeds can span up to about 22.9 m (75 ft.). Usually, truss screeds are vibrated by either a small gasoline engine or air pressure.
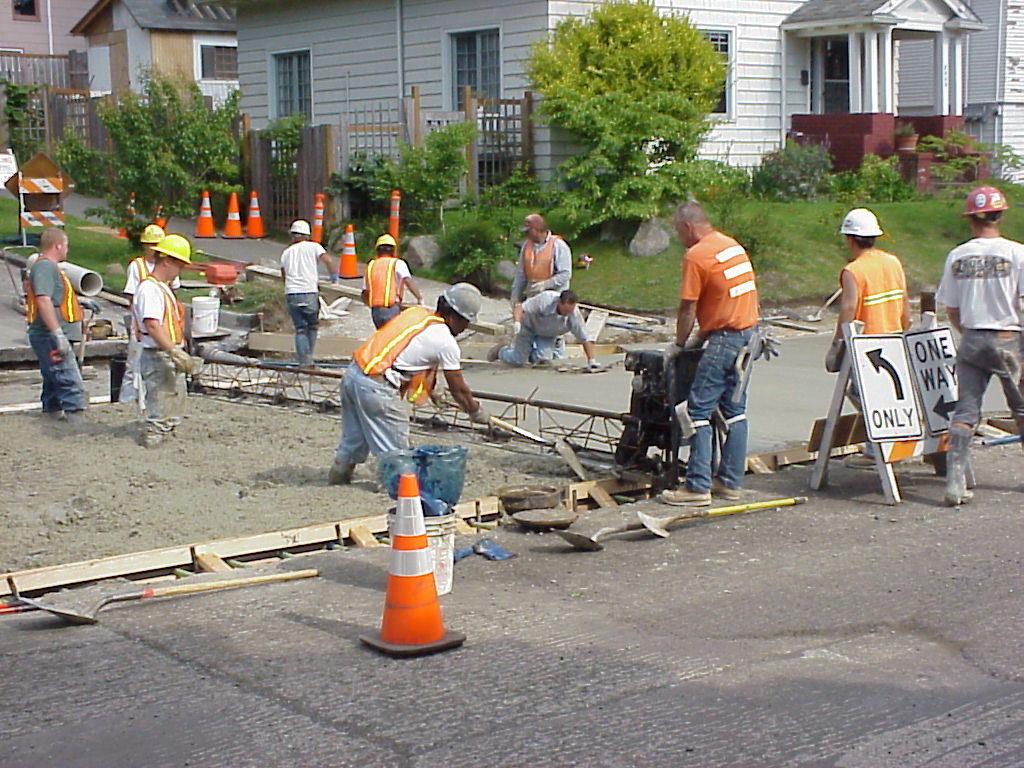
- Traversing roller tube paver (Figure 14 and 15). Consists of a traveling carriage mounted on a truss frame. The carriage travels along the truss frame from one end to the other, with the machine moving forward after each carriage pass. Typically, the traveling carriage can screed and finish PCC in one pass. The truss frame upon which the carriage travels can be set to provide flat, parabolic, crowned, super-elevated and tapered surfaces.
Consolidation
There are three general consolidation options in fixed form paving:
- Omit (not recommended). Sometimes, on very small jobs such as the one pictured in Figure 16, vibration is omitted. However, this increases the risk of leaving large voids in the PCC mass, which creates a honeycomb-like structure.
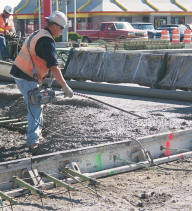
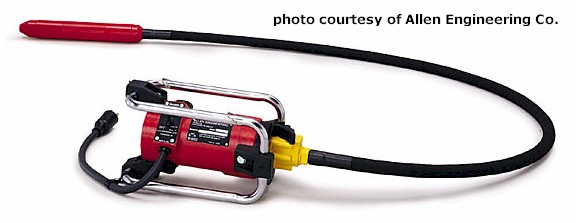
- Hand-operated vibrators. The typical vibrator, sometimes known as a “spud vibrator” is a long vibrating rod powered by either air pressure or a small 1.5-3.0 kW (2-4 horsepower) motor (See Figures 16 and 17).
- Screed vibration. Equipment like the vibrating truss screed and the traveling carriage screed will vibrate the placed PCC while striking it off. Vibration is usually accomplished by mechanical or air power.
Finishing
Fixed form finishing is usually accomplished by hand tools or form riding equipment. Typically, after the PCC has been screeded it is floated using hand floats (Figure 18 and 20) and straightedges (see Figure 18) in order to eliminate any remaining high/low spots and to embed large aggregate particles. Finally, texturing is added using a hand tining tool (see Figure 4) or a traveling carriage attachment.
|
|
|
Curing
Fixed form construction uses both wet and sealed curing. Wet curing is typically limited to small jobs, while sealed curing, which is more prevalent, can be used on any job size. Curing seals can be distributed from machines that straddle the finished pavement or from hand-operated sprayers (Figures 22 and 23).
- American Concrete Pavement Association (ACPA). (1995). Construction of Portland Cement Concrete Pavements. National Highway Institute Course No. 13133. AASHTO/FHWA/Industry joint training. Federal Highway Administration, Department of Transportation. Washington, D.C.↵

